Hero Game Project
Difficulty rating: Beginner
Average time to build: 30 minutes
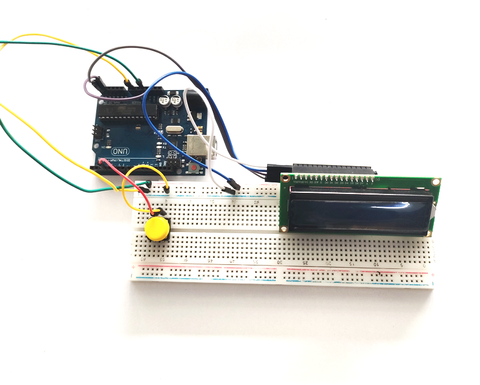
The Arduino Uno is probably the most common microcontroller one the market these days as it is very easy to use and control.
Short description
This DIY kit will help to teach you how to work with a microcontroller. It will also teach you how a breadboard works and what a breadboard is. This DIY kit will teach you about tactile switches and LCD screens.
Hero Game Project building summary
To be able to build this project your self all you will need is the kit with all its components as well as a laptop or desktop computer and a little bit of time.
Project Diagram

How the Hero Game works
So the game uses the same principle as the google dinosaur game (when you have no internet connection) in the sense that you run and jump and as you go along with the game you have an ever-increasing score, the more the score increases the quicker and more difficult the game becomes.
Step-by-step instructions.
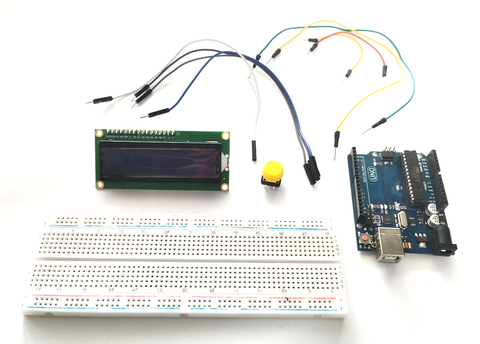
The picture above shows all the components that come with the kit.
Step 1.
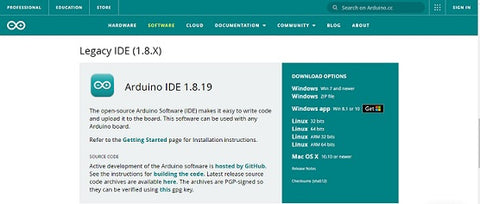
Download the the Arduino IDE if you have already done so, please feel free to skip this step. You can download the Arduino IDE
Step2.
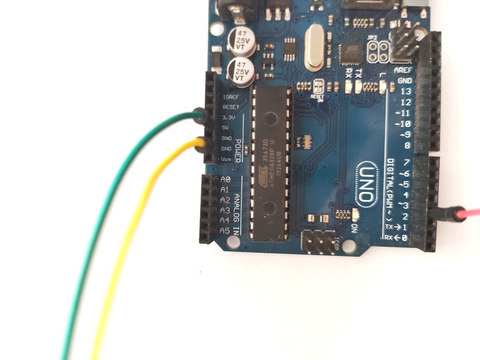
Connect all the wires from the Arduino Uno to the bread board which is only the 5V and GND.
Step 3.
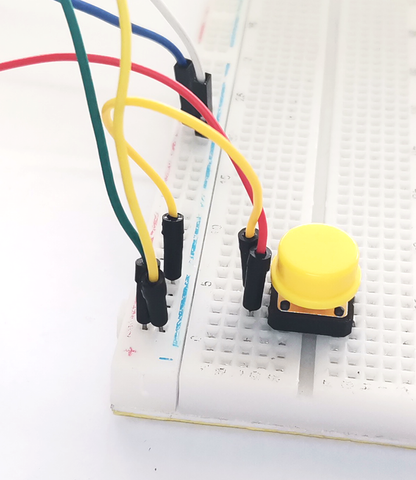
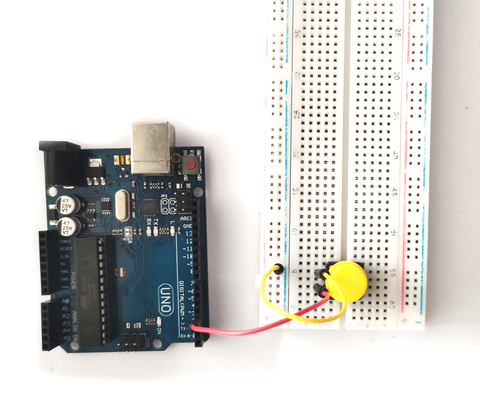
Place the tactile switch on the breadboard also connect its wires as follows: The right leg of the tactile switch goes to PIN 2 on the Arduino UNO and the left goes to your GND(Ground) rail on your breadboard.
Step 4.
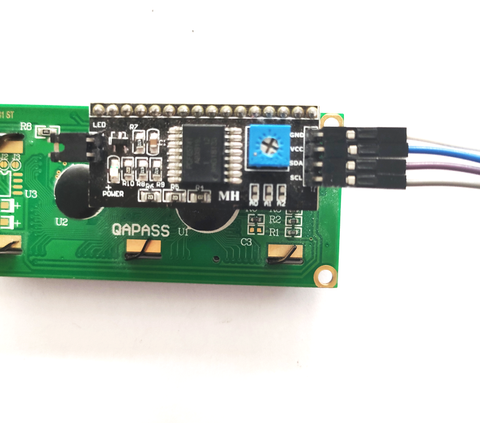
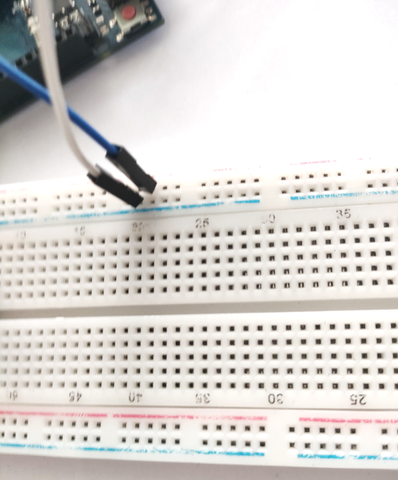
Connect the female to male jumpers to the LCD, then connect the male side of the wires to the positive(5V) and negative (GND) of the screen to the corresponding rails on the breadboard, connect the last to wires as the diagram above shows.
Step 5.
Next plug in the Arduino UNO to your computer and upload the code to the microcontroller.
Step 6.
Finally, we can see if the screen displays the running man and whether or not the button is connected properly and if all is working. If all is working have fun!.
Hero Game