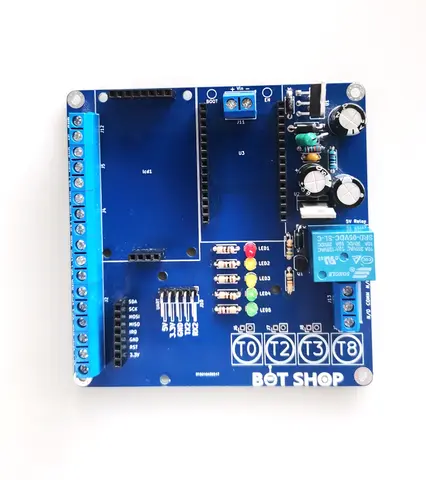
This DIY kit will give you a much easier environment to access most of the functionality of the ESP32. The ESP is probably the most useful Microcontroller to play with when you want to go a bit more advanced. Let's take a look at the ESP32 with its WiFi and Bluetooth capabilities.
We have created this project board to allow you to access these functions easily and quickly. You can build many different projects with this ESP32 project board. Many of our step-by-step projects will use this board to make things easier to build,
Difficulty rating: Advanced
Average time to build: 30 minutes.
With this DIY kit, you will be able to improve your soldering skills, and you will learn about the ESP32 and most of its capabilities of the ESP32.
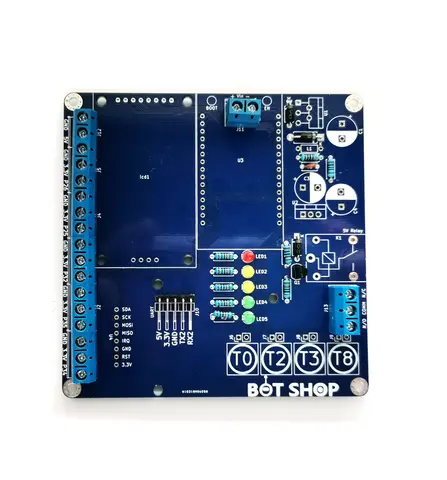
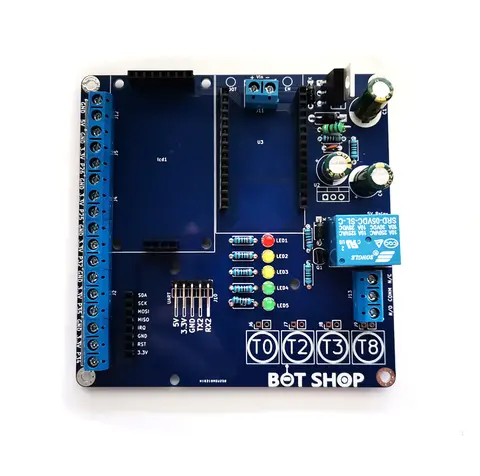
ESP 32 Project Board building summary
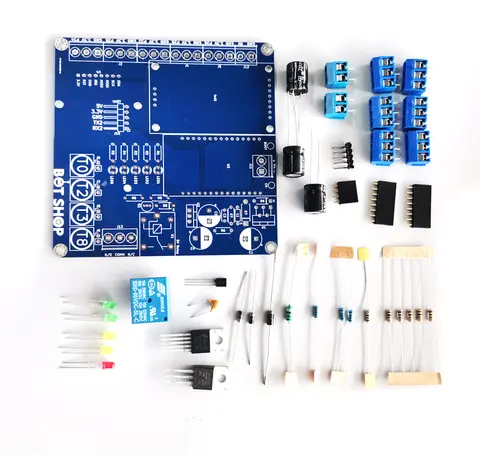
In this project, you will need the kit as well as a soldering iron, solder and pliers to cut the legs of the components shorter once completed.
How the ESP 32 Project Board works
Step 1.
Place all Resistors, Diodes, and solder pins (always start with the lowest components, this will make soldering easy when flipping the PCB when soldering bottom.) Please ensure that the polarity of the diodes is correct, simple way of knowing is, the line on the diode needs to be in the same direction as the squared bracket line on the board.
Step 2.
Place the next highest components Led and transistor. Take extra care on soldering the transistor for shorts between legs.
Step 3.
Place 2Pin and 3Pin connectors then solder pins (this will be the next highest components.)
Step 4.

Place next highest level components headers, caps, relay and regulator last the inductor.
Step 5.
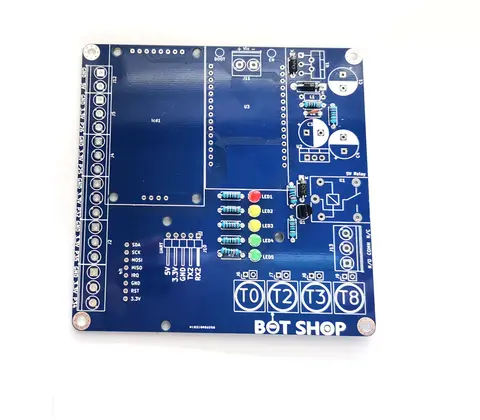
Finally, we can inspect the board for any shorts or missing soldering pins. If all looks good, we can power the board and choose you combination of components. We can do a simple test to see if the ESP32 project board works by simply testing a blink LED.

Component Placement Guide.
We have created a component placement guide app to easily see where the components need to be soldered. Please click on the button below to access it.