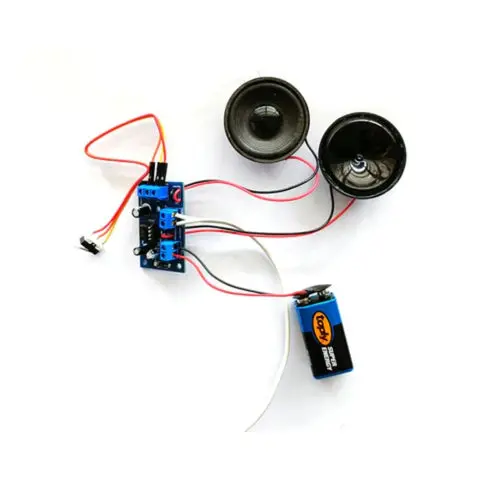
2Way intercom Project
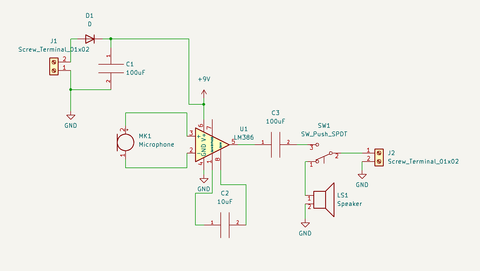
The kit learns you how the LM386 IC can be used as an amplifier of 1W.
It's powered by a 9V Battery, a double pole switch is used for talking when pressing it and will listen when you release it.
Difficulty rating: Beginner
Average time to build: 30 minutes.
Short description
2Way intercom Project building summary
In this project, you will need the kit as well as a soldering iron, solder and pliers to cut the legs of the components shorter once completed.
Project diagram
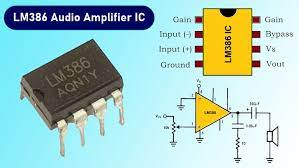
How the LM386 works
The LM386M are power amplifiers designed for use in low-voltage consumer applications. The gain is internally set to 20 to keep the external part count low, but the addition of an external resistor and capacitor between pins 1 and 8 will increase the gain to any value from 20 to 200.
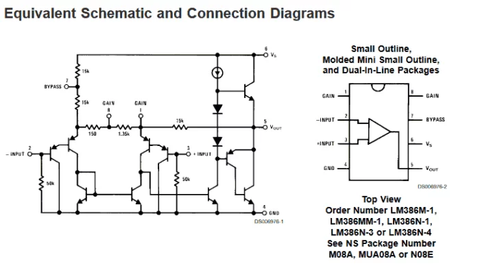
for more info: https://www.ti.com/product/LM386#tech-docs
Step-by-step instructions.
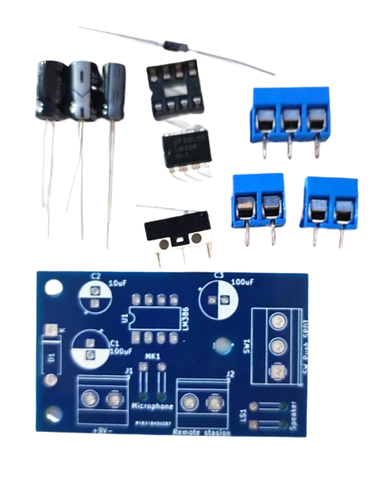
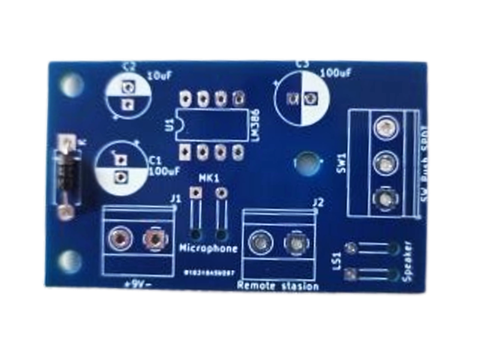
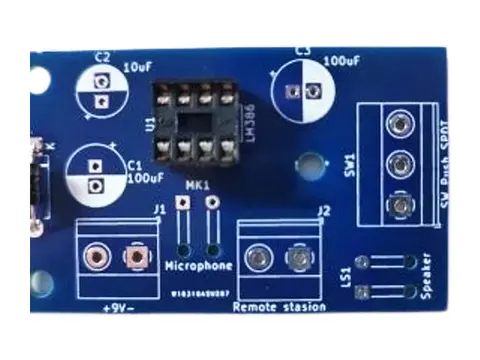
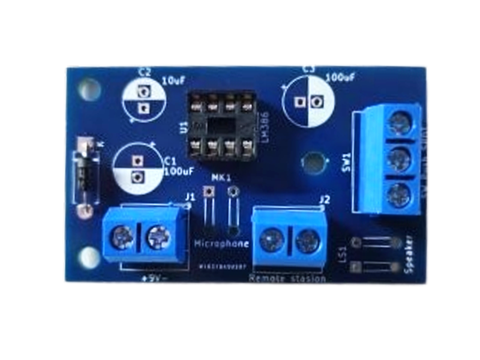
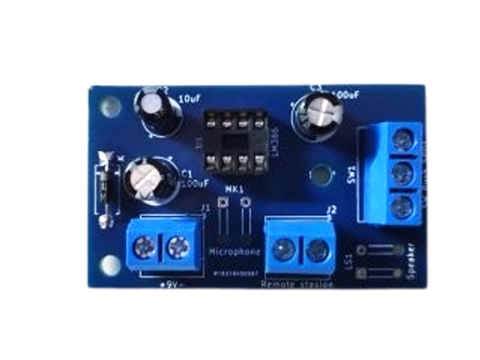
The picture above shows all the components that come with the kit.
Step1
Place the Diode and make sure of the polarity and solder pins (always start with the lowest devices, this will make soldering easy when flipping PCB when soldering bottom.)
Step2.
Place IC holder and solder pin (these are the next higher devices.)
Step 3.
Place 2Pin and 3PIN connectors and solder pins (these will be the next highest devices.)
Step 4
Place the Electrolytic Capacitor and make sure of polarity they do have +, - pins neg are marked with white marking on the side and a short wire pin.
2-way
Step5
Finally, we can inspect the board for any shorts or missing soldering pins.
If all looks good we can power the board and we will see.
2Way intercom